
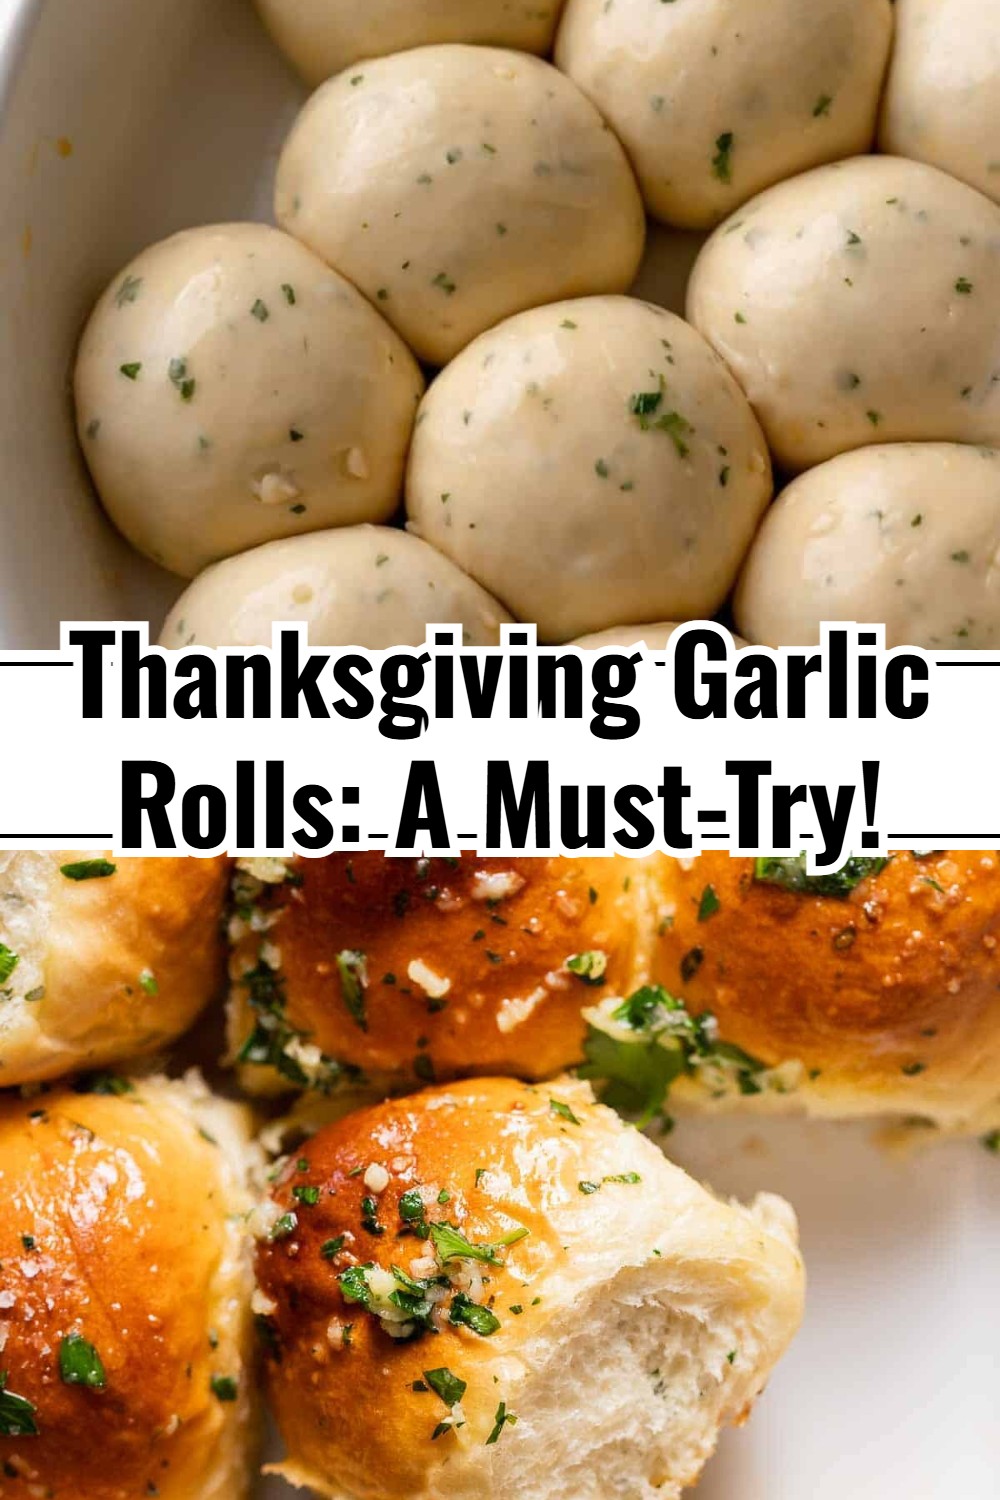
The Thanksgiving table is a canvas of culinary delights, and while the turkey often takes center stage, we all know the unsung heroes are often the sides. This year, imagine a basket overflowing with warm, golden-brown rolls that are so delicious and easy to make, your guests will think you spent hours slaving away! Our Garlic Thanksgiving Bread Rolls are here to transform your holiday spread into something truly unforgettable. Each bite offers a burst of aromatic garlic and fresh herbs, wrapped in a pillowy-soft texture that’s absolutely perfect for soaking up every last drop of gravy. Forget the stress of complex baking; this recipe is designed for ease without compromising on that incredible homemade taste. Get ready to bake up some serious comfort and charm, making your holiday meal shine with minimal effort and maximum flavor!
Equipment Needed
- Large mixing bowl
- Measuring cups and spoons
- Stand mixer with dough hook (optional, but recommended)
- Small saucepan or microwave-safe bowl
- Whisk
- Clean kitchen towel
- 9×13 inch baking dish or cast iron skillet
- Pastry brush
Ingredients
- 1 cup warm milk (105-115°F / 40-46°C)
- 2 1/4 teaspoons active dry yeast (one standard packet)
- 1 tablespoon granulated sugar
- 1/2 cup (1 stick) unsalted butter, melted and divided
- 1/4 cup warm water (105-115°F / 40-46°C)
- 1 large egg, room temperature
- 1 teaspoon salt
- 3 1/2 – 4 cups all-purpose flour, plus more for dusting
- 3-4 cloves garlic, minced
- 2 tablespoons fresh parsley, finely chopped
- 1 tablespoon fresh chives, finely chopped
- Pinch of sea salt flakes (for finishing)
Shopping List
Dairy & Eggs
- 1 cup milk
- 1/2 cup (1 stick) unsalted butter
- 1 large egg
Produce
- 3-4 cloves garlic
- 1 bunch fresh parsley
- 1 bunch fresh chives
Pantry
- 2 1/4 teaspoons active dry yeast
- 1 tablespoon granulated sugar
- 3 1/2 – 4 cups all-purpose flour
- 1 teaspoon salt
- Pinch of sea salt flakes
Instructions
- Activate Yeast: In a large mixing bowl (or stand mixer bowl), combine the warm milk, yeast, and granulated sugar. Stir gently and let it sit for 5-10 minutes until foamy. This indicates the yeast is active.
- Add Wet Ingredients: To the foamy yeast mixture, add 1/4 cup of the melted butter, warm water, and the egg. Whisk until well combined.
- Combine Dry Ingredients: In a separate bowl, whisk together 3 1/2 cups of the all-purpose flour and the salt.
- Form Dough: Gradually add the dry ingredients to the wet ingredients, mixing until a shaggy dough forms. If using a stand mixer, attach the dough hook and knead on low speed for 5-7 minutes. If kneading by hand, turn the dough out onto a lightly floured surface and knead for 8-10 minutes until smooth and elastic. Add more flour a tablespoon at a time if the dough is too sticky, but avoid adding too much.
- First Rise: Lightly grease a clean large bowl with a little oil. Place the dough in the bowl, turning once to coat. Cover the bowl with a clean kitchen towel or plastic wrap and let it rise in a warm place for 1 to 1.5 hours, or until doubled in size.
- Prepare Garlic Butter: While the dough is rising, melt the remaining 1/4 cup of butter. Stir in the minced garlic, chopped parsley, and chopped chives. Set aside.
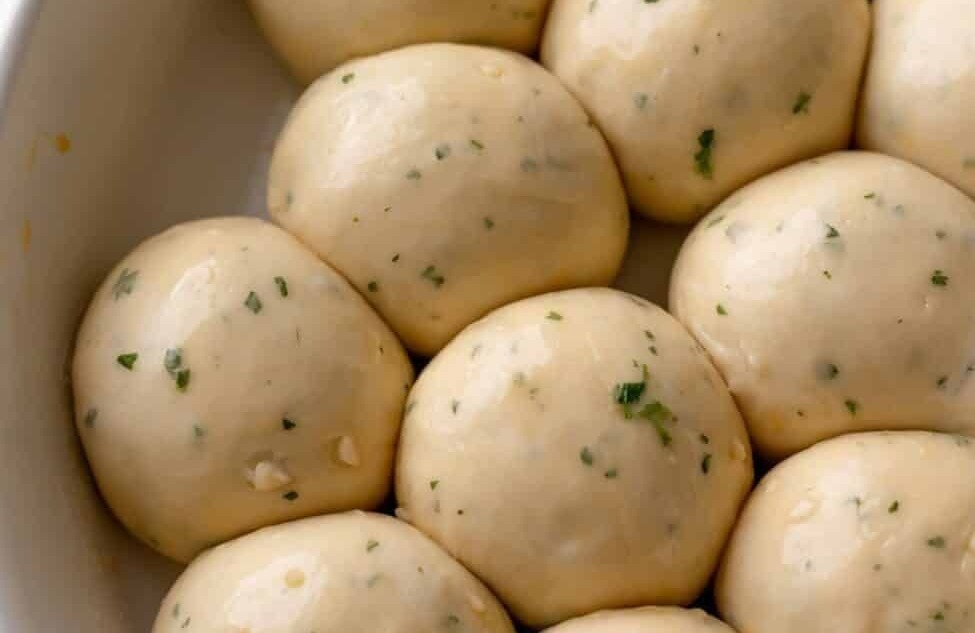
- Shape Rolls: Once the dough has doubled, gently punch it down. Turn it out onto a lightly floured surface and divide it into 12-15 equal pieces. Roll each piece into a smooth ball. Arrange the dough balls in a greased 9×13 inch baking dish or cast iron skillet, leaving a little space between each.
- Second Rise: Brush the tops of the rolls generously with half of the prepared garlic herb butter. Cover the baking dish again and let the rolls rise for another 30-45 minutes, or until puffy and almost doubled in size.
- Bake Rolls: Preheat your oven to 375°F (190°C). Bake the rolls for 15-20 minutes, or until golden brown on top and cooked through. If they start browning too quickly, you can loosely tent them with aluminum foil.
- Finish and Serve: As soon as the rolls come out of the oven, brush them with the remaining garlic herb butter. Sprinkle with a pinch of sea salt flakes for an extra flourish. Serve warm and enjoy!
Tips & Variations
- For the best rise, ensure your yeast is active and the dough proofs in a warm, draft-free spot. A slightly warm (turned off) oven can be your secret weapon on a chilly day.
- Want to intensify that delicious garlic flavor? Try roasting the garlic cloves until tender before mincing and adding them to your butter. It adds a wonderfully sweet and deeper dimension.
- Feel free to get creative with your herbs! While parsley and chives are fantastic, a touch of fresh rosemary or thyme can introduce a lovely, earthy twist that beautifully complements other holiday flavors.
- If you prefer distinctly separate rolls rather than pull-apart ones, simply arrange them with more space on a baking sheet lined with parchment paper before the second rise.
- For an even richer, deeper golden-brown crust, whisk one egg with a tablespoon of water and brush this egg wash over the rolls before their second rise. You can still add the garlic butter after baking for maximum flavor!
Serving & Storage Suggestions
These irresistible Garlic Thanksgiving Bread Rolls are undeniably at their best served piping hot, straight from your oven. Arrange them invitingly in a rustic basket or on a charming platter, perhaps nestled in a clean linen napkin, to add a touch of homemade elegance to your holiday spread. They are the perfect accompaniment to all your Thanksgiving classics – think succulent roasted turkey, creamy mashed potatoes, tangy cranberry sauce, and of course, they are absolutely divine for mopping up rich, savory gravy. Any delectable leftovers can be stored in an airtight container at room temperature for up to 2-3 days; a quick gentle reheat in the microwave or oven will bring back their initial warmth and softness. Don’t forget, they make an amazing foundation for mini turkey and cranberry sauce sliders the day after!
We hope these Garlic Thanksgiving Bread Rolls become a beloved staple at your holiday gatherings, bringing that special homemade touch everyone craves! Crafting these delicious, easy rolls is a joyful experience, and the aroma filling your kitchen is just the beginning. We’d absolutely love to hear about your baking adventure. Please share your thoughts, any creative modifications, or how much your family adored them in the comments below!
Garlic Thanksgiving Bread Rolls
Elevate your holiday meal with these incredibly fluffy and savory garlic herb bread rolls, effortlessly made from scratch for a truly delicious addition to any feast.
Ingredients
- 1 cup warm milk (105-115°F / 40-46°C)
- 2 1/4 teaspoons active dry yeast (one standard packet)
- 1 tablespoon granulated sugar
- 1/2 cup (1 stick) unsalted butter, melted and divided
- 1/4 cup warm water (105-115°F / 40-46°C)
- 1 large egg, room temperature
- 1 teaspoon salt
- 3 1/2 - 4 cups all-purpose flour, plus more for dusting
- 3-4 cloves garlic, minced
- 2 tablespoons fresh parsley, finely chopped
- 1 tablespoon fresh chives, finely chopped
- Pinch of sea salt flakes (for finishing)
Instructions
- Activate Yeast: In a large mixing bowl (or stand mixer bowl), combine the warm milk, yeast, and granulated sugar. Stir gently and let it sit for 5-10 minutes until foamy. This indicates the yeast is active.
- Add Wet Ingredients: To the foamy yeast mixture, add 1/4 cup of the melted butter, warm water, and the egg. Whisk until well combined.
- Combine Dry Ingredients: In a separate bowl, whisk together 3 1/2 cups of the all-purpose flour and the salt.
- Form Dough: Gradually add the dry ingredients to the wet ingredients, mixing until a shaggy dough forms. If using a stand mixer, attach the dough hook and knead on low speed for 5-7 minutes. If kneading by hand, turn the dough out onto a lightly floured surface and knead for 8-10 minutes until smooth and elastic. Add more flour a tablespoon at a time if the dough is too sticky, but avoid adding too much.
- First Rise: Lightly grease a clean large bowl with a little oil. Place the dough in the bowl, turning once to coat. Cover the bowl with a clean kitchen towel or plastic wrap and let it rise in a warm place for 1 to 1.5 hours, or until doubled in size.
- Prepare Garlic Butter: While the dough is rising, melt the remaining 1/4 cup of butter. Stir in the minced garlic, chopped parsley, and chopped chives. Set aside.
- Shape Rolls: Once the dough has doubled, gently punch it down. Turn it out onto a lightly floured surface and divide it into 12-15 equal pieces. Roll each piece into a smooth ball. Arrange the dough balls in a greased 9x13 inch baking dish or cast iron skillet, leaving a little space between each.
- Second Rise: Brush the tops of the rolls generously with half of the prepared garlic herb butter. Cover the baking dish again and let the rolls rise for another 30-45 minutes, or until puffy and almost doubled in size.
- Bake Rolls: Preheat your oven to 375°F (190°C). Bake the rolls for 15-20 minutes, or until golden brown on top and cooked through. If they start browning too quickly, you can loosely tent them with aluminum foil.
- Finish and Serve: As soon as the rolls come out of the oven, brush them with the remaining garlic herb butter. Sprinkle with a pinch of sea salt flakes for an extra flourish. Serve warm and enjoy!
