
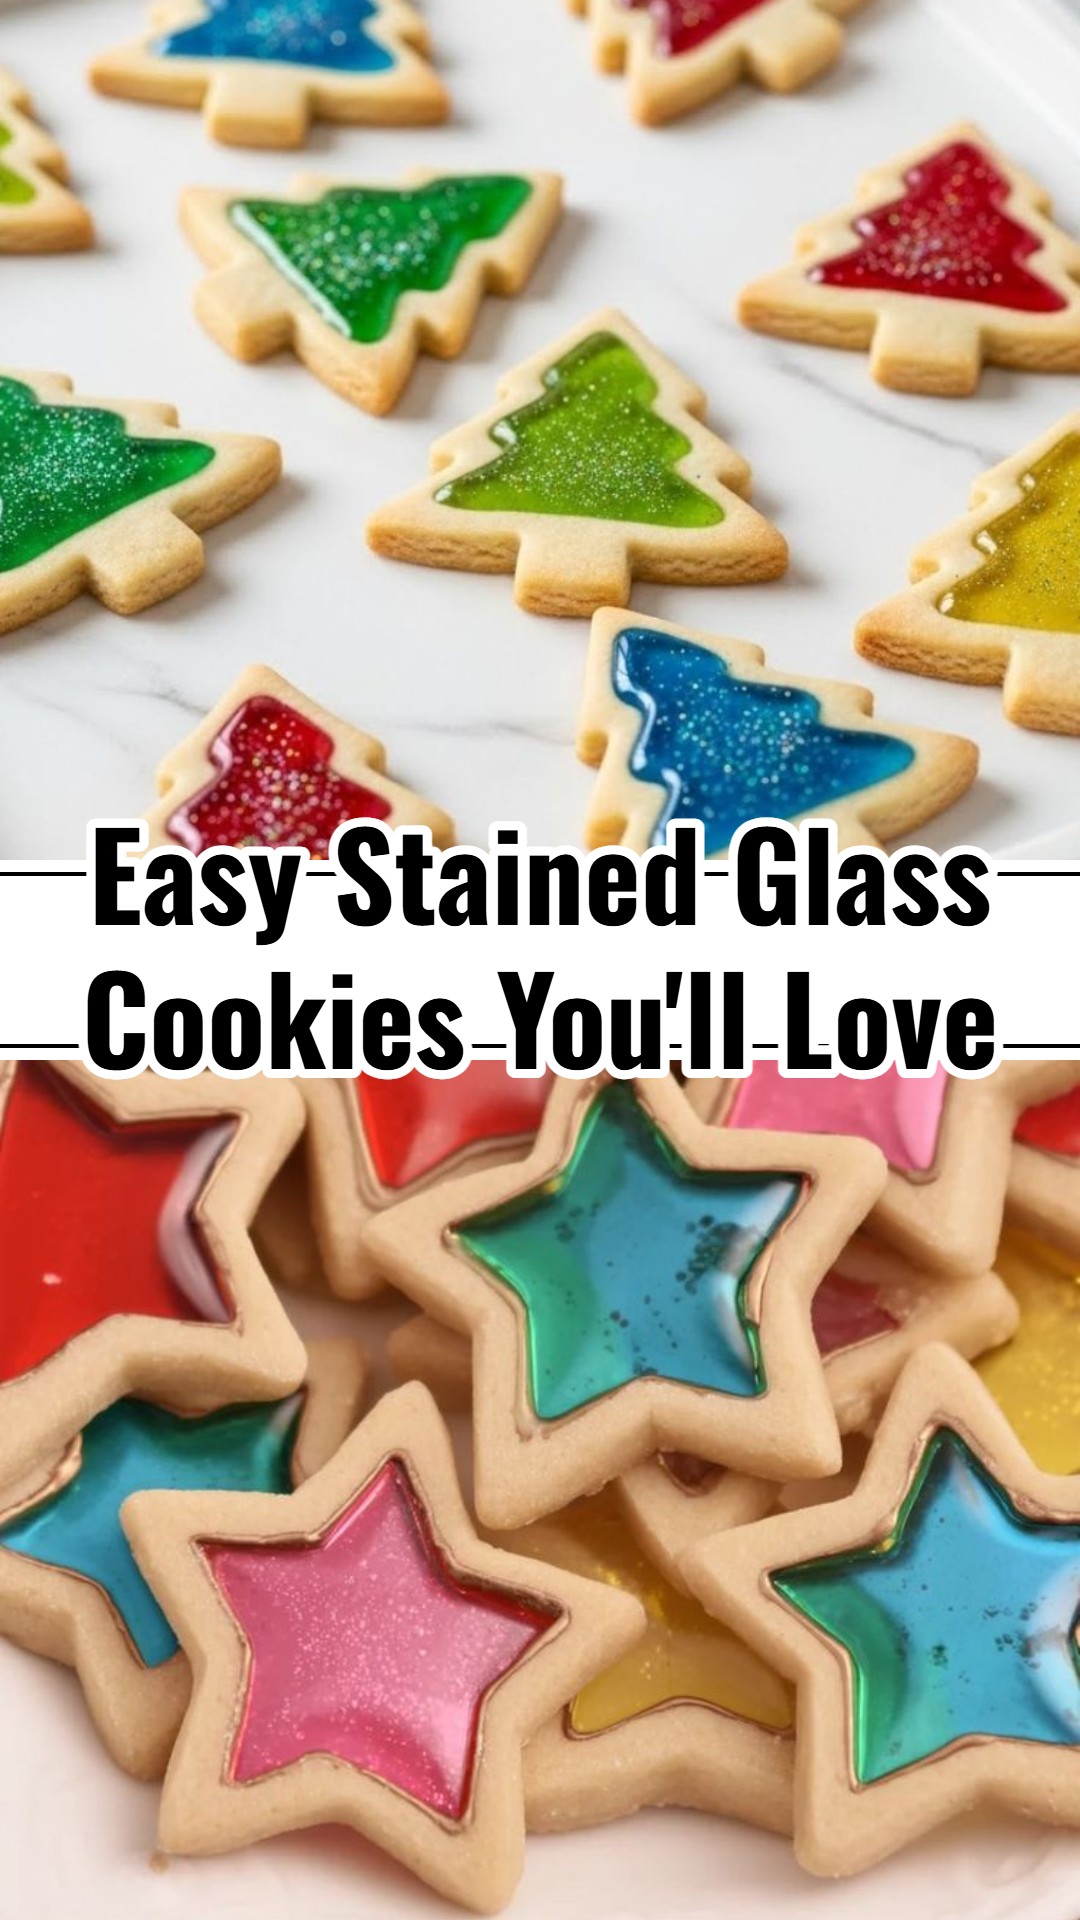
The holiday season is all about creating magical moments and delicious memories, and what better way to do that than with a batch of stunning cookies? Today, we’re diving into a recipe that combines beauty with incredible ease: our Easy Stained Glass Christmas Decorating Cookies! Imagine biting into a tender, buttery biscuit adorned with a glistening, jewel-like center that twinkles like real stained glass. This isn’t just a cookie; it’s a tiny edible masterpiece that’s surprisingly simple to achieve. Whether you’re looking for a show-stopping addition to your Christmas cookie platter, a fun baking project with the kids, or unique gifts for friends and family, these cookies tick all the boxes. Get ready to impress everyone with these ‘Cute Christmas Snack Ideas’ that truly bring the holiday sparkle to your kitchen!
Helpful Tips
- Dough Chilling is Key: Don’t skip or rush the chilling step for your cookie dough. A properly chilled dough is crucial for maintaining sharp cookie shapes and preventing excessive spreading in the oven. If your kitchen is particularly warm, consider popping your cut cookies on the baking sheet into the fridge for 5-10 minutes before they hit the oven. This extra chill time ensures those gorgeous edges stay crisp.
- Choosing Your Candy ‘Glass’: While Jolly Ranchers are a fantastic choice for their bright, consistent colors and easy melting, feel free to experiment! Other hard candies like Lifesavers, sour hard candies for a tangy twist, or even crushed peppermints for a classic holiday flavor work beautifully. For an elegant, ethereal look, try using clear hard candies. Just make sure whatever you choose is truly ‘hard candy’ and will melt smoothly.
- Crushing Candies with Ease: For best results, crush your candies into varying sizes, from fine powder to small shards. This creates a beautiful, almost fractured glass effect. If you don’t have a food processor, place candies in a heavy-duty freezer bag, remove air, and crush with a rolling pin or meat mallet. Ensure bags are robust to prevent tearing.
- Perfecting the ‘Window’ Cut-Out: No small cookie cutter? No problem! Get creative with a sharp paring knife to carefully cut out your center shapes, or even use the wide end of a sturdy piping tip for small circles. You can also use forks to make indents. Just ensure the opening is large enough to hold a good amount of crushed candy.
- Creative Decorating Flourishes: Once cooled, these cookies are stunning on their own, but you can elevate them further! Consider adding a delicate drizzle of royal icing around the edges for a frosted look, or even sprinkle edible glitter over the candy centers before they fully harden for an extra sparkle.
- Storage for Lasting Freshness: To keep your stained glass cookies fresh and their ‘glass’ centers perfectly crisp, store them in an airtight container at room temperature. Place parchment paper between layers to prevent sticking. They will stay delightful for up to a week, though they rarely last that long!

Ingredients
- 1 cup (2 sticks) unsalted butter, softened
- 1 1/2 cups granulated sugar
- 2 large eggs
…and more!
Easy Stained Glass Christmas Decorating Cookies Sweet Idea
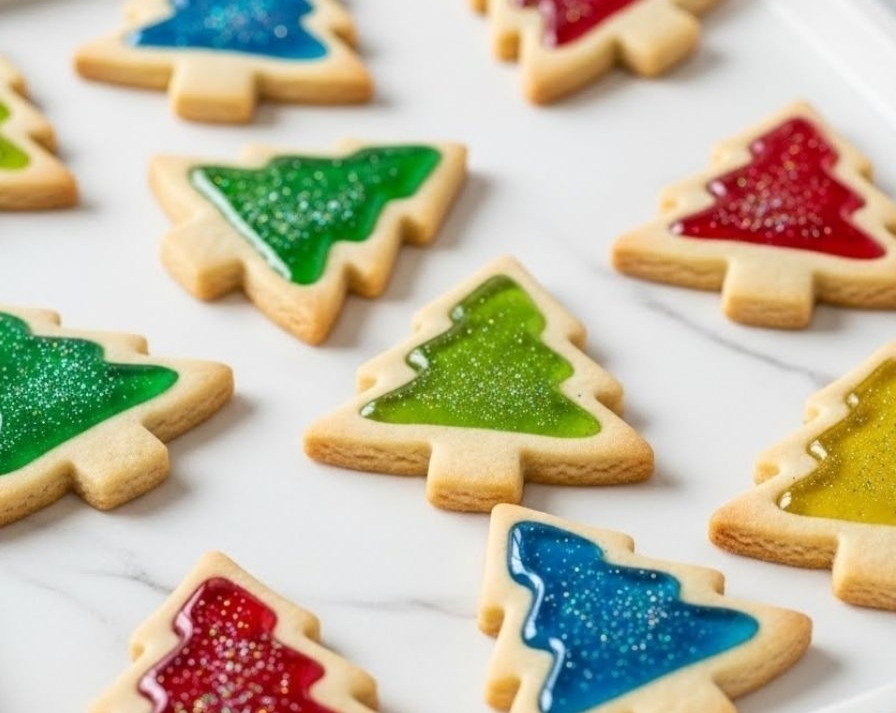
Whip up these enchanting stained glass cookies for a truly dazzling and effortless holiday treat, perfect for gifting or adorning your festive spread.
Ingredients
- 1 cup (2 sticks) unsalted butter, softened
- 1 1/2 cups granulated sugar
- 2 large eggs
- 1 teaspoon vanilla extract
- 3 cups all-purpose flour
- 1 teaspoon baking powder
- 1/2 teaspoon salt
- Approximately 1 cup (or 16-20 pieces) hard candies (Jolly Ranchers, lifesavers, etc.), sorted by color
Step-by-Step Instructions : . . .
To Complete Step By Step Instructions Please Head On Over To Next Page Or Open button (>)
